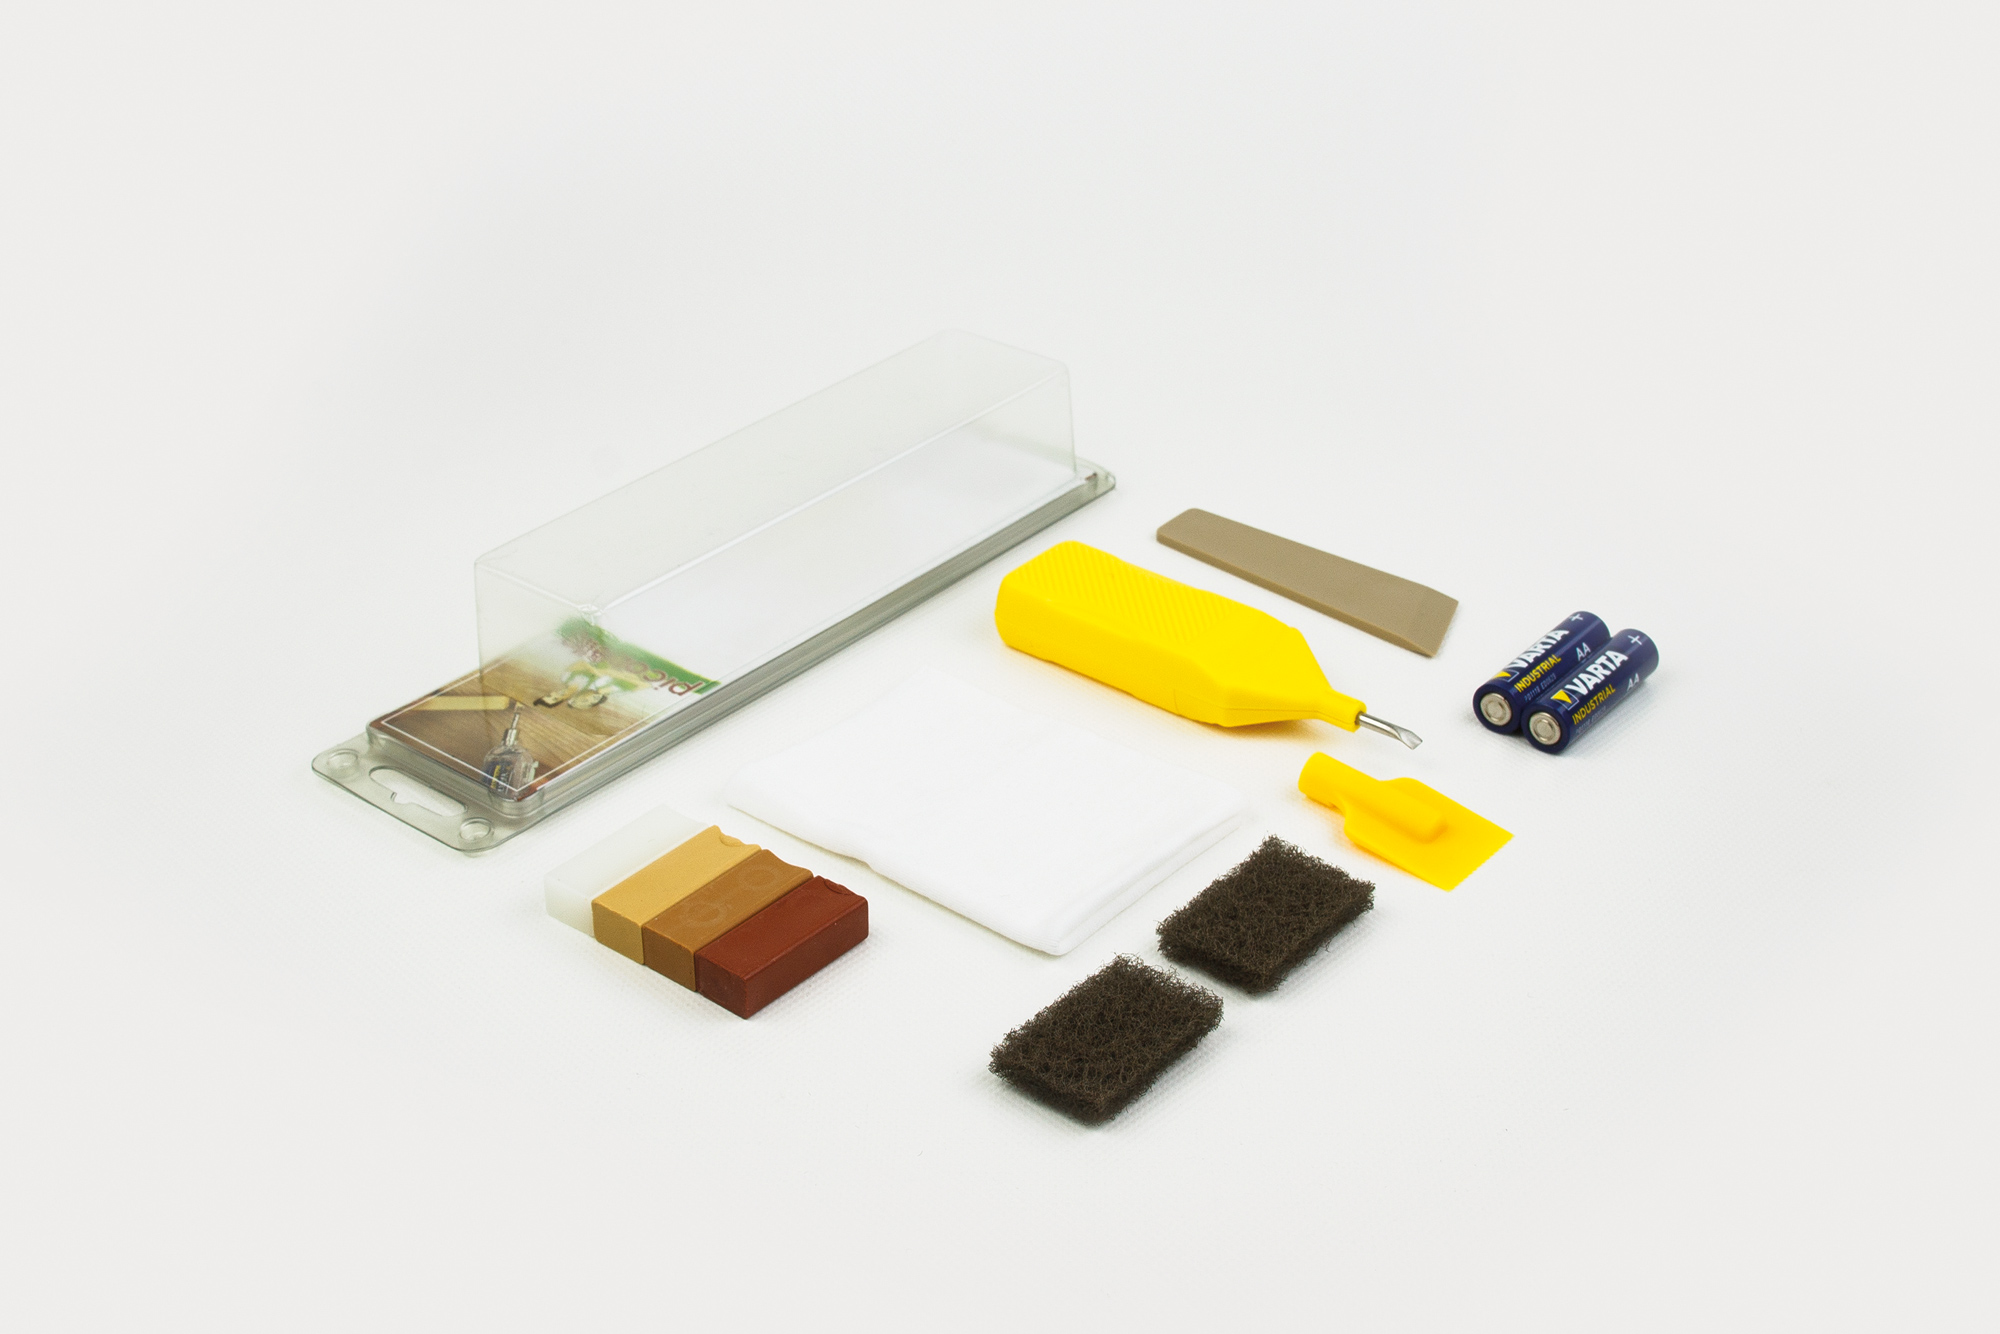
Picobello MINI Repair Set (for lacquered real wood/decor surfaces)
Product number:
G61612
Product information "Picobello MINI Repair Set (for lacquered real wood/decor surfaces)"
Uses
This Repair Set is ideal for repairing chips, scratches and other types of cosmetic damage to items such as furniture, laminate / real wood flooring and kitchen worktops. Recommended for indoor use.
Set contents
4x Hard Wax (in different assortments - light, medium, dark)
1 Mini Melter incl. 2 batteries
1x Spatula
2x Sanding Pad (coarse)
1x Lint-free Cloth.
https://youtu.be/7LT_3foGo5I
| To be used on: | On surface and/or materials: |
|---|---|
| Deep scratches | Wood Windows, indoor |
| Pressure marks | Wood Doors, indoor |
| Small holes | Wood flooring, lacquered |
| Fine scratches | Laminate flooring |
| Plastic surfaces | |
| Wood surface, lacquered | |
| Kitchen cabinets and countertops |
It's that easy ...
1) Prepare: The damaged area to be repaired must be clean, dry and free of grease. Remove any loose, protruding parts before the repair. 2) Choose colours: Select suitable colours. Always use several colour shades from light to dark. For real wood surfaces, also mix with transparent Hard Wax to achieve a depth effect. 3) Melting and Mixing: The melting tip is heated by pressing the push button on the melter. Melt small portions of filler and apply in portions to the damaged area, slightly overfilling the damaged area. Always work from light to dark. For intermediate shades, mix the colours together. Tip: Only use the transparent filler for pressure marks. 4) Levelling: Allow the filler to cool for about 5-7 seconds. After the wax has cooled, remove the excess material with the planing grooves of the melter. Tip: Remove the excess with light pressure only. 5) Precise adjustment: For final colour adjustments, imitate the grain with a darker filler. Once more, remove protusions with the planing grooves. If necessary, rework the structure of the surface with the front edge of the spatula. 6) Degrease: Remove the last filler residue by lightly wiping over with the grey Sanding Pad; this will also degrease the area.
- Application example: Scratches on wood or laminate
- Application example: Small hole in laquered wood surface
- Application example: Branchhole in lacquered surface
- Application example: Repair of a dent
https://www.heinrich-koenig.de/media/5d/aa/49/1724665954/G61611_Picobello_Mini-Reparatur-Set_Holz-Hell_Instructions.pdf
Hard Wax | Hazard statement: Caution! Hazardous respirable dust may be generated during use. Do not inhale dust. Note regrading the melter: Technical data: Voltage: 3 V, amperage: 2.75 amps ± 0.2, power: 8 W, Disposal: Batteries must not be disposed of with household waste (only with hazardous waste).


