Picobello PREMIUM Repair Set (for wall and floor tiles)
Product number:
G61457
Product information "Picobello PREMIUM Repair Set (for wall and floor tiles)"
Uses
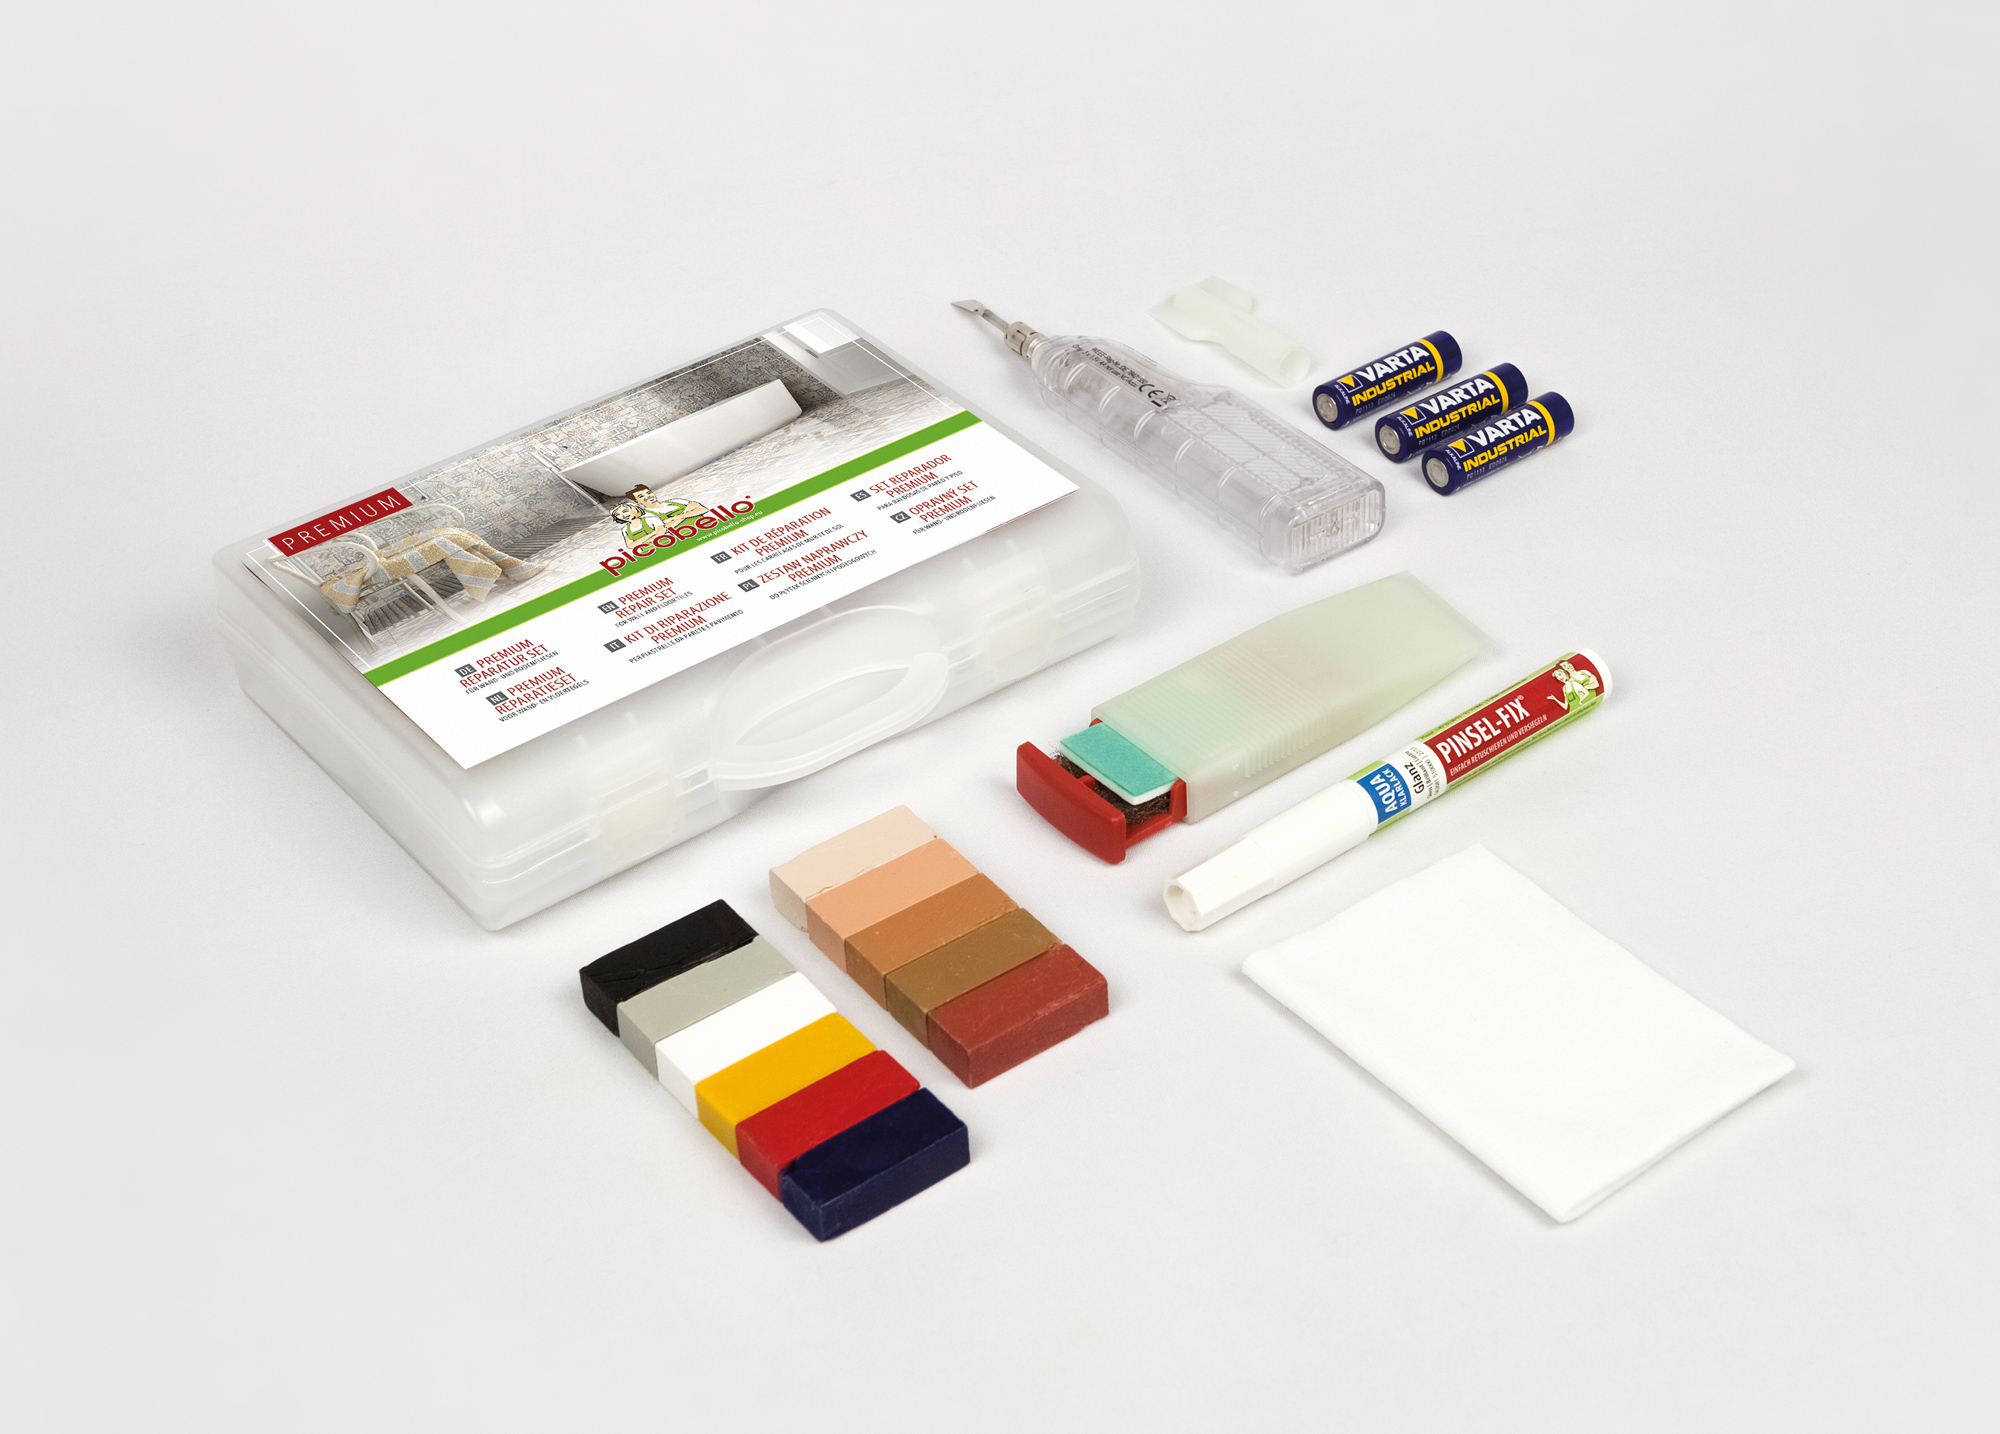
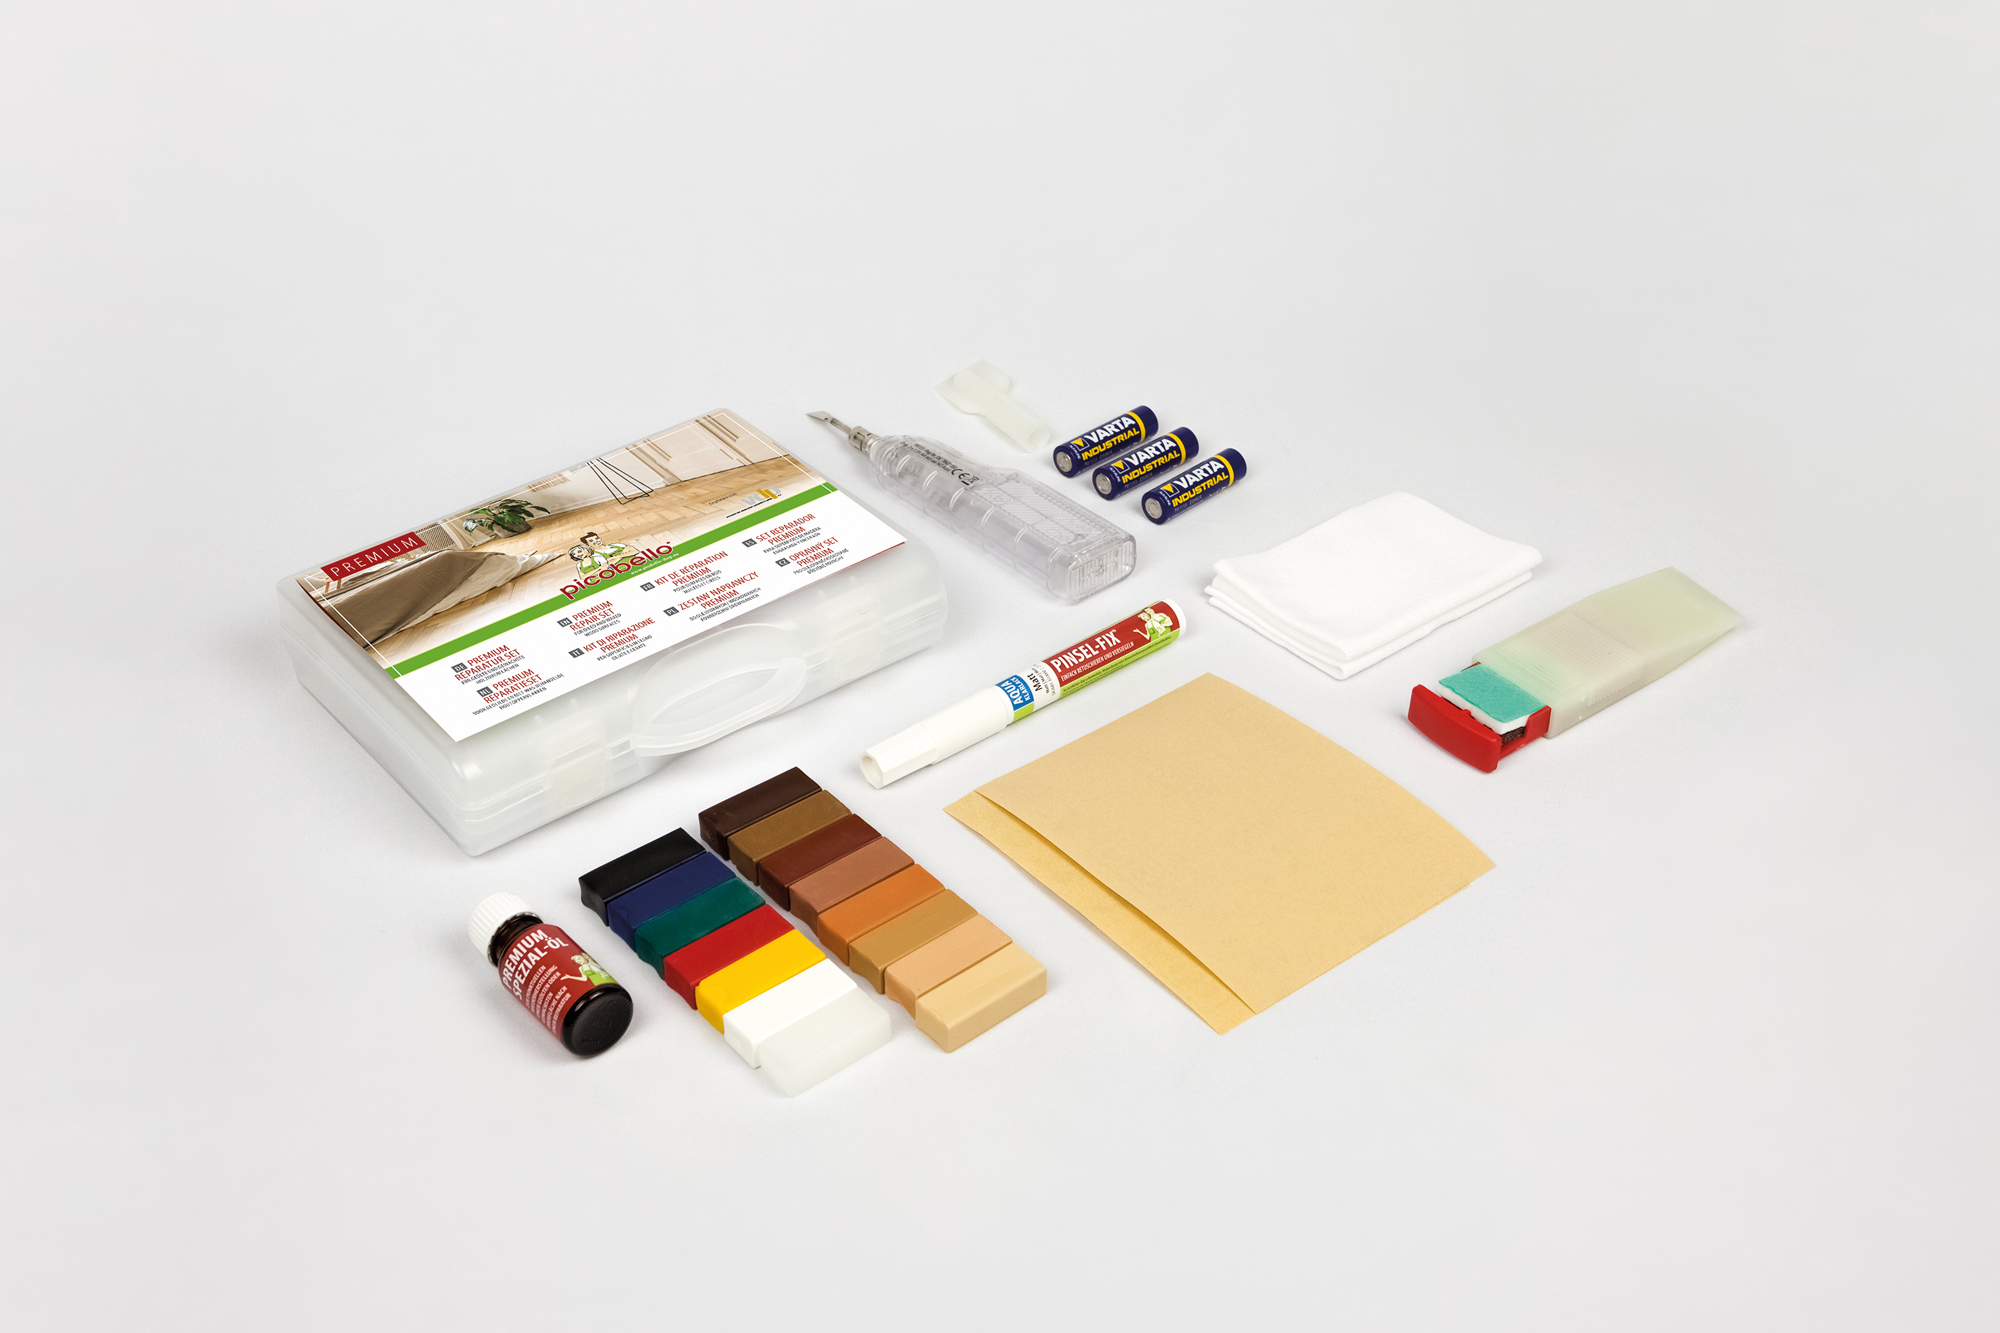
Repair Set including AQUA Brush Pen Clear Lacquer for sealing, for the sustainable repair of damage such as small flakes and drill holes in wall and floor tiles. Recommended for indoor use.
Set contents
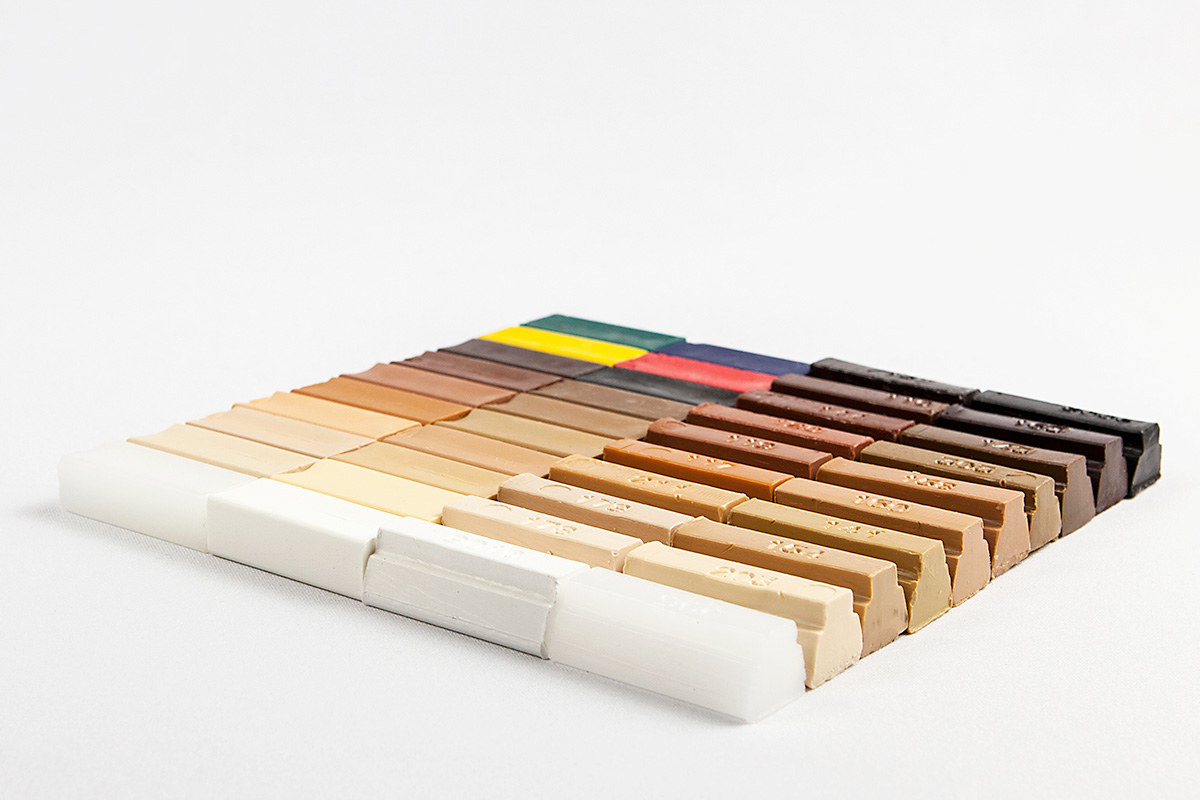
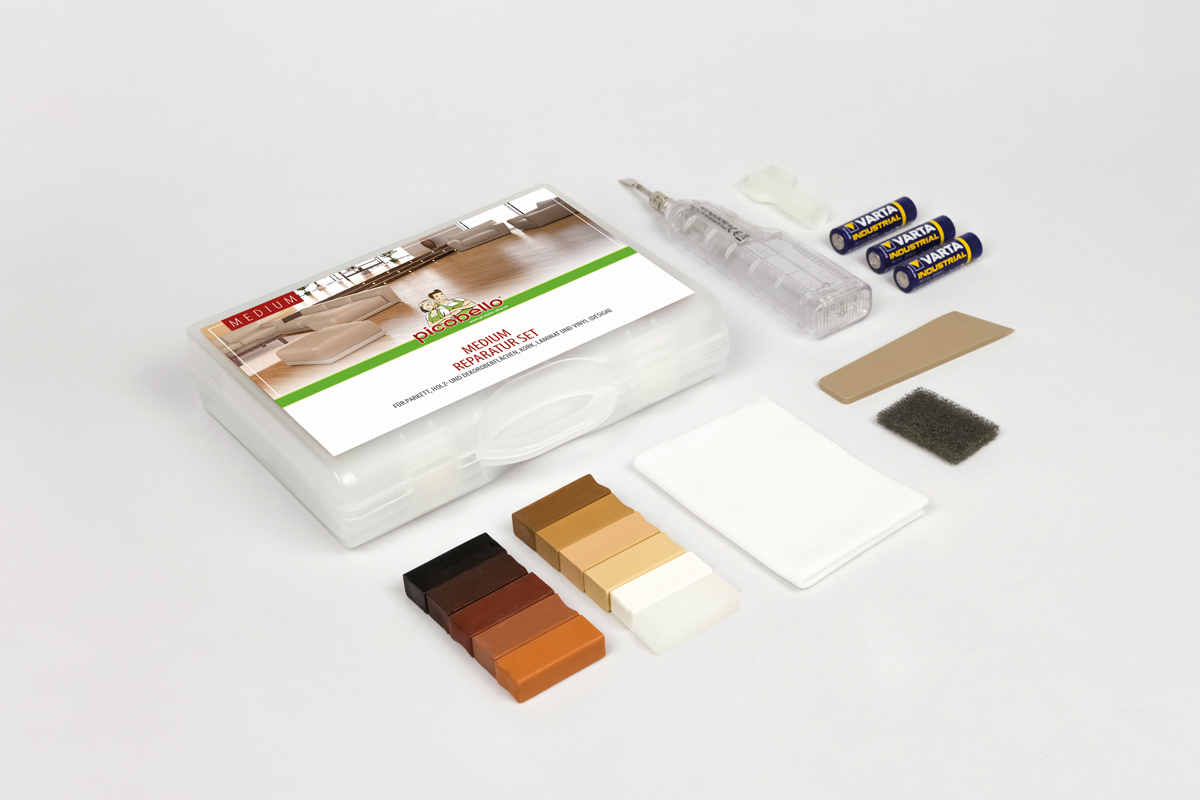
11x Ceramic Filler
1x AQUA Brush Pen Clear Lacquer (Gloss)
1x Battery Melter
3x Battery (Micro 1.5 V AA)
1x Special Fillers Applicator incl. small Sanding Pad as well as a small Sanding and Polishing Cloth
1x lint-free Cloth
1x illustrated instruction sheet.
https://youtu.be/_cNaA8N-bY0
| To be used on: | On surface and/or materials: |
|---|---|
| Drill holes | Wall and Floor Tiles |
| Small holes | |
| Abrasion |
It's that easy...
Prepare: The damaged area to be repaired must be clean, dry and free of grease. Remove any loose, protruding parts prior to the repair. Select suitable colour shades. Make sure to always use several colour shades from light to dark. Melting: Activate the melter and hold the hot melter tip to a colour-matching Ceramic Filler stick - melt off some filler. You can also mix several colours together. Filling: Apply the melted filler to the damaged area with the tip of the melter, always overfilling the damaged area slightly. Removing: Remove the excess with the pointed grooves of the Special Fillers Applicator. Colour adjustment: If the colour of the filled area does not quite match, you can adjust the colour at any time. Simply melt off some material and mix it with the filling in the damaged area. Levelling: After filling, plane the protrusions once more with the Special Fillers Applicator. Finally, smoothen out the damaged area with the wide front edge of the Special Fillers Applicator in rapid movements. Degrease: Now degrease the filled area with the grey Sanding Pad from the Special Fillers Applicator. Sealing: To protect against dust and dirt, you can apply a sealant, using the AQUA Brush Pen Clear Lacquer. Paint the damaged area evenly in one direction. If possible, do not paint the surrounding area. Gloss level adjustment: When the area is dry (at room temperature after approx. 10-15 minutes), you can adjust the gloss level with the Sanding and Polishing Cloth. Use the green side to polish the area, giving it more lustre. Use the white side to mat the area.
- Application example: Damage on floor or bathroom tile
- Application example: Drill hole in a tile
https://www.heinrich-koenig.de/media/44/65/a8/1724842959/G61457_Picobello_PREMIUM-Reparatur-Set_Instructions_Wand-und-Bodenfliese.pdf
AQUA Brush Pen Clear Lacquer | Hazard statement: Contains 1,2-benzisothiazol-3(2H)-one. May cause allergic reactions
Ceramic Filler | Hazard statement: Caution! Hazardous respirable dust may be generated during use. Do not inhale dust.
Ceramic Filler | Hazard statement: Caution! Hazardous respirable dust may be generated during use. Do not inhale dust.


